Introduction
Oso Cloud allows you to define your authorization policy in code. This lets you apply software development best practices to your authorization code, but since policy as code is a relatively new phenomenon, it’s not always clear how to do this. When’s the right time to validate syntax? Where should you test authorization logic? How can you incorporate a shared authorization service into an integration test suite without creating contention? In this series, we’ll tackle these questions and show you how to build a comprehensive testing pipeline for authorization code.
In this first guide, we’ll cover the local development environment. We won’t spend much time here on the nuts and bolts of environment setup: those instructions are in the Local Environment Guide on our docs site if you’d like to follow along. Instead, we’ll focus on how to create an effective local testing workflow using the tools that Oso provides. Let’s jump in!
Local Oso Development
The local development environment is best for lightweight tests that catch obvious bugs before they get into version control. At each step of the testing cycle, you want to accelerate development by catching errors automatically and providing feedback quickly. If the testing process itself starts to slow people down, then they’ll work around it. They’ll start to bundle lots of changes into large commits in order to decrease the amount of time they spend waiting for tests to run, or they’ll skip the local tests entirely and push everything off to the CI server (or production). This makes it more difficult to find and fix bugs when they happen, which defeats the purpose.
It’s best to isolate the local development environment from network dependencies. Network communication is always slower than local processing. Network dependencies also introduce elements into your testing suite that are outside of your control. When a local test fails because of an outage in a third-party service, people often assume the problem is in their code and waste time debugging it, which creates frustration. By removing network dependencies from your local testing suite, you protect your local development workflow from these sorts of unpredictable events. You also allow people to work from areas of limited connectivity, like planes or the local coffee shop.
Oso Cloud provides three capabilities that support local development:
- IDE integrations for VSCode and vim
- The oso-cloud CLI
- A local oso cloud binary for Linux and Mac OS.
Let’s look at how to incorporate these into a local testing workflow that catches obvious bugs without slowing down the development process.
Highlight Invalid Syntax in the IDE
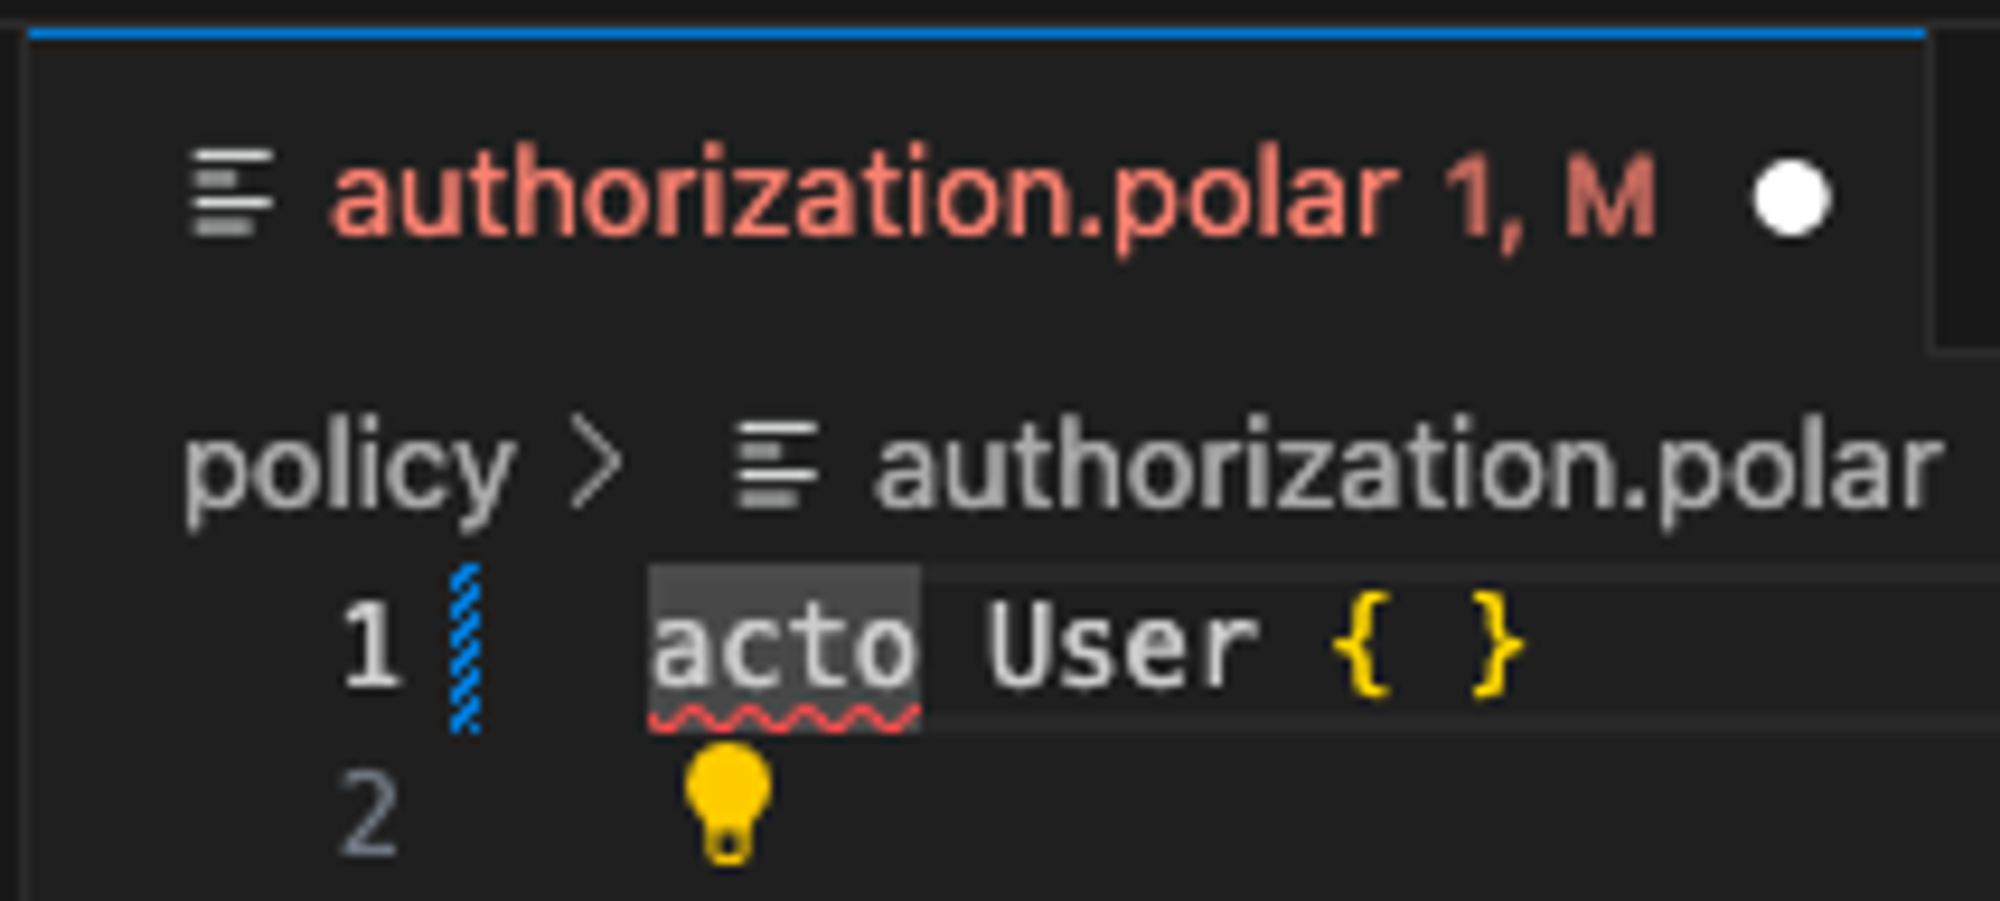
Oso’s IDE integrations provide syntax highlighting for Polar. This is the earliest opportunity to catch issues with your policy - you can see syntax errors right in your IDE as you work! For example, with the Oso VSCode Extension installed, VSCode will underline invalid syntax in your polar code.

By default, the extension is configured for the open-source library syntax. To configure it to validate the oso-cloud polar dialect, select “cloud” under Oso > Polar Language Server: Validations,You can also set this for your project by adding the following to .vscode/settings.json in your project’s root
This is a good start. It lets your IDE do some of the work for you. But it’s still up to you to notice these issues and fix them. You can push more of that work onto your development environment.
Prevent Invalid Polar Syntax From Being Committed to Version Control
IDE integration allows you to quickly see typos and copy/paste errors. This will help you catch and fix a lot of common errors, but what you really want to do is automatically detect invalid polar syntax and keep it out of version control. This prevents other developers from being disrupted by broken polar code finding its way into their local environments, or worse, a shared environment.
The oso-cloud CLI can programmatically validate polar syntax with the oso-cloud validate command. For instance, running oso-cloud validate on the invalid policy that the VS Code plugin highlighted above returns an error:
With a programmatic method for validating syntax in place, you can now prevent invalid policy code from being committed to version control by incorporating it into a pre-commit hook. A pre-commit hook is, as you would expect, a script that git runs when you call git commit. If the script fails, then git blocks the commit, preventing the bad code from getting into version control. For example, using our broken policy from earlier (output is simplified for illustration):
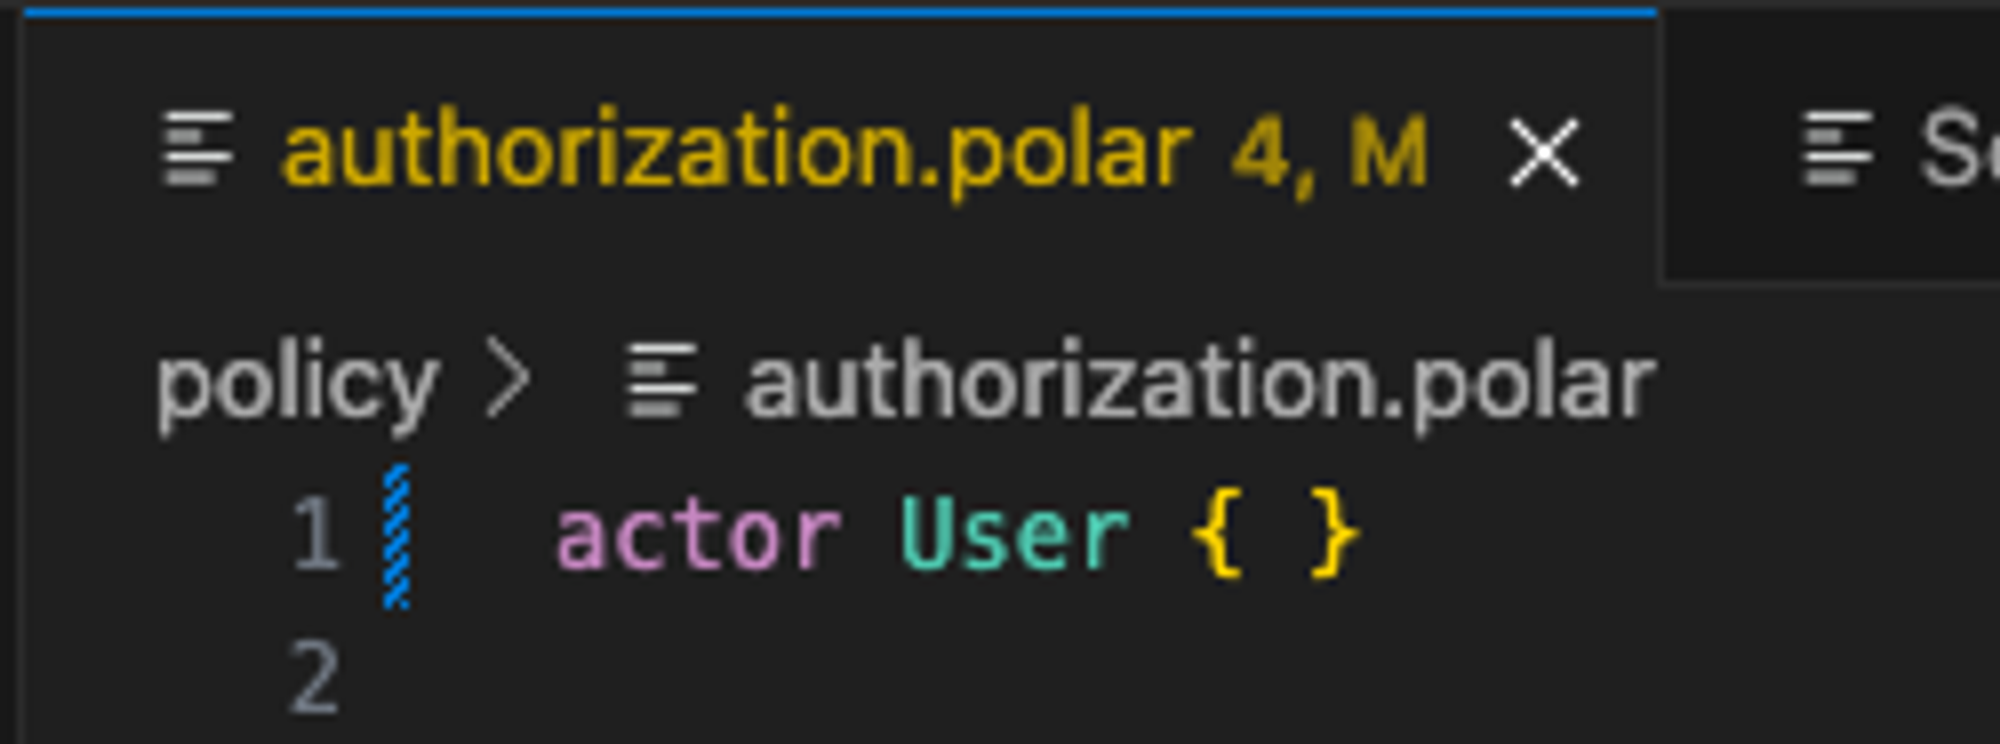
As you can see, the pre-commit hook caught the invalid syntax and blocked the commit (the change is still staged). Let’s go ahead and fix it now so we can commit it.

That looks better. What happens if we try to commit now?
This is great! You can now be sure that your policy code is always syntactically correct before you commit it to your repository.
Polar syntax checks are ideal for pre-commit hooks. They run noninteractively, they’re fast, and they don’t rely on any external services. Incorporating them at this stage allows you to ensure that a whole class of bugs will stay out of version control. This is powerful, but although you now know that your code is syntactically correct, you have no guarantee that it’s functionally correct. For that, you need policy testing.
Run Oso Policy tests locally
Oso allows you to write tests directly in your polar code. You can use these to confirm that your policy defines the correct behavior. For example, you could write a test to confirm that members of an Organization are able to read all repositories and issues in that organization:
You run these tests by using the oso-cloud test command against the polar file that contains them. The tests run independently of your application code, so you can validate your authorization logic without the extra overhead of exercising your application, but there’s a wrinkle. By default, the tests run against the remote Oso Cloud service, and we don’t want to rely on a remote service for our local development workflow. This is why Oso provides a local development binary.
The local development binary is a stripped-down version of Oso Cloud that you can run on your local system. Once you’ve installed and started it, you can configure the Oso Cloud CLI to run policy tests against it by setting the OSO_URL and OSO_AUTH variables. So, if the test above were located at policy/authorization.polar:
Now that you can run policy tests locally, it’s tempting to add them to the pre-commit hook, but we recommend against that. Remember that you also want to minimize disruption to developer velocity. Even with the local binary, adding policy tests would make your pre-commit hook dependent on a service. If the binary isn’t running, policy tests will fail. You could start the binary from the hook, but that introduces an extra delay to wait for the service to start responding. You also have to think about managing the process. Should you shut it down after running the tests? What if it had already been started outside of the script? Now you’re adding a lot of complexity that has nothing to do with testing, but makes your pre-commit hook slower, harder to understand, and more brittle.
A pre-commit hook isn’t the right place to do policy tests, but we do now have a programmatic way to validate our authorization logic. It would be a shame not to take advantage of that somewhere in the software delivery lifecycle. In the next post, we’ll leave the local environment and move into a continuous integration (CI) pipeline. There, we’ll see how you can incorporate policy tests downstream to ensure that your policy code is both syntactically and functionally correct without degrading the local development experience.
We hope we’ve helped you think about how to build an effective local testing workflow. Do you have questions about local policy testing, or thoughts about incorporating policy tests into CI? We’d love to hear from you! Reach out to us on slack and join the conversation.


.png)